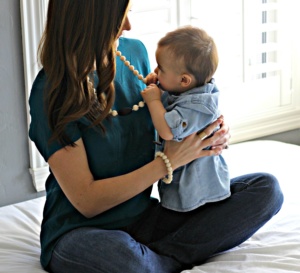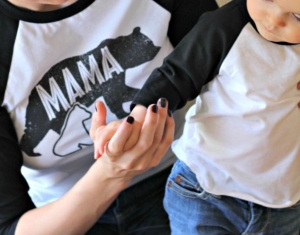
One of the things that my husband and I loved to do pre-baby was going out to eat. During the dating phase of our relationship he lived in San Francisco, right in the heart of the Marina District, and I in downtown Sacramento. Both cities have great dining scenes (obviously San Francisco more so) and each weekend we would eat on the town at least once. After coming out of the newborn haze, I wanted to continue that tradition and bring Taylor out to eat with us but was honestly too intimidated to do so. During that time, people advised that we should take her out to eat while she still slept all the time; looking back we really should have taken advantage of that time because now I know that it becomes a whole lot more complicated when they are awake and needing to be entertained constantly.
Taylor is 10 months old now, and we’ve been out to eat with her about once per month for the last 6 months. Through trial and error and some interesting experiences at restaurants, we’ve learned a few tips and picked up items that make going out to eat a lot less stressful/messy and more enjoyable for mommy, daddy and baby.
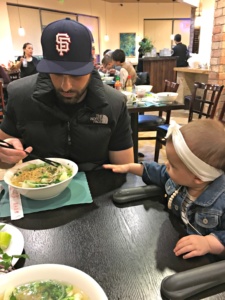
Most recently Taylor attended a dinner put on by the law firm my employer contracts with and, although it didn’t go perfectly (i.e. I had to take her out to the car in the middle of the meal to nurse because she lost it a little bit as it got closer to bedtime), the tips and tricks I’m sharing today made it possible for me to feel confident bringing her to such a setting. We love getting out of the house on weekends with Taylor now, and she is used to being out and about which I think is good for her. I hope you find the following tips for dining out with a baby helpful for your family. I’ve also included suggestions to add to your Restaurant Kit for older babies and toddlers (see #8!):
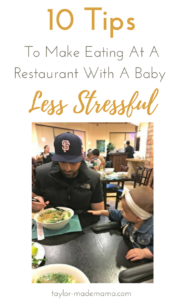
10 Tips To Make Eating At A Restaurant With A Baby Less Stressful
1.Dine early -We try to get the the restaurant around 5:30PM. Beat the crowd and have plenty of time before bedtime/witching hour? Win, win!
2. Pick a noisy restaurant – Babies cannot be expected to sit quietly for an hour or more (if you have one that does so without any effort of your own, consider yourself super blessed!). They WILL fuss, cry, screech, chat, and growl (or perhaps that’s just my child). It makes things a lot less stressful when you know your little noise maker will blend into the rest of the background noise.
3. Ask for a table for four – This way your babe has their own space and you can clear the area of all the things their little hands would want to grab. We learned our lesson during this particular trip out for Ph. We had a tiny table for two and spent most of the time trying to block Taylor from grabbing chili sauce, our napkins, spoons, bowls, etc.
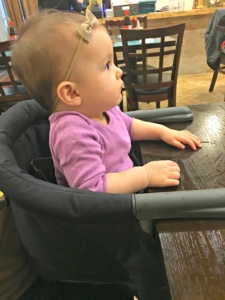
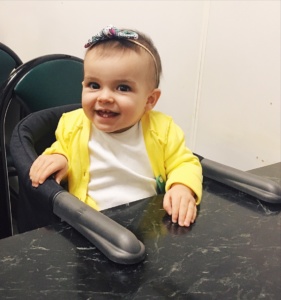
4. Buy this chair by Inglesina, and the tray that goes with it!- I can’t recommend this chair/tray combo enough and only wish we’d purchased it sooner. Taylor will NOT sit still in a highchair and one of us inevitably ends up with her on our lap, trying to keep her little mitts off our plates, for the majority of the meal. This chair, however, she loves sitting in and it does fit on most restaurant tables we’ve been to. Another really nice feature of this comfy chair is the pocket in the back where supplies like sanitizing wipes, a toy, spoons, bibs, etc.can be stored. I keep this seat in the car in it’s attached, travel-friendly carrying bag so that we don’t have to worry about forgetting it. The tray fits into the bag as well.

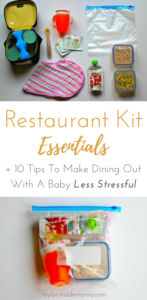
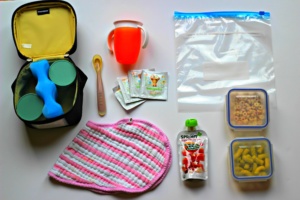
5. Have a Ziplock bag stashed with the following in the car or easy to grab on the way out the door.
-
- Spoon – One of my best girlfriends recommended these recyclable, reusable or disposable baby spoons that are only $5.49 for a pack of 24 on Amazon. If you leave one on the table, it’s not too big a deal.

- Bib – These Burpy Bibs by Aidan and Anais are by far my favorite, portable bibs (they cover a lot of surface area!)
- Spill Proof Sippy Cup– keep it empty in your kit and fill it up once you arrive.

- Wipes – Use natural hand, face and baby wipes to wipe down the table surface where your baby will touch/eat snacks from, and their hands/mouth after the meal. We use these by Babyganics:
- Snacks (2 different kinds) – T’s top three favorite
baby crackssnacks are Happy Baby Puffs, Yogis and Munchies (these are like healthy Cheetos for babes!). I order these three monthly on Amazon (if you don’t already have Amazon Prime – free 2-day shipping amongst other perks – it’s so worth signing up for an account HERE). - Pouches – just in case you forget to grab their food from the fridge or cupboard on the way out, you’ll have a portable dinner on hand. Our favorite pouches are made by Sprout, in this flavor, which you can purchase in a pack of 5 on Amazon.

6. Buy a mini cooler for homemade baby food that needs to be refrigerated, or just grab your jar/Tupperware of food if you’re heading straight to the restaurant. I use this one that’s actually meant to store breast milk, but fits and my homemade baby food jars perfectly as well.

7. Feed the baby directly after you order your food, so that by the time your meal arrives you’re able to actually eat it. If you have an older or baby-led weaning baby – order food for them as soon as you sit down!
8. Bring along a novel “toy” or an activity for older babies/toddlers– this could be something as simple as a straw from the restaurant. While you’re scarfing down your food as quickly as possible eating, baby can play with this novel item and/or eat some of their small snacks. Taylor LOVES plastic chopsticks – she’s quite the musician with those things! If you have an older baby or toddler who can complete activities like reusable sticker books, reusable activity books with water pens, coloring books (Twistable, self-sharpening crayons are awesome for this!), etc.
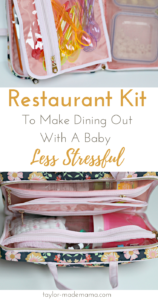
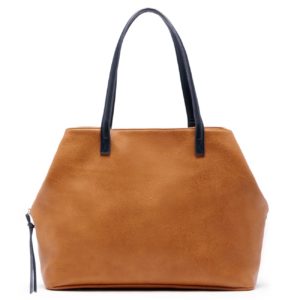
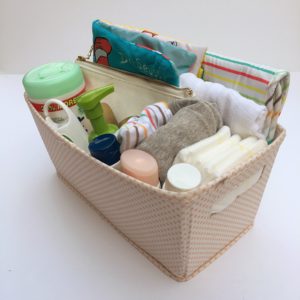
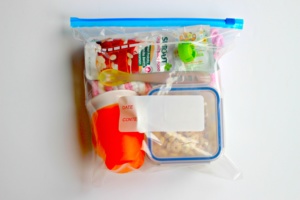
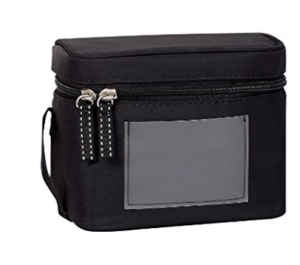
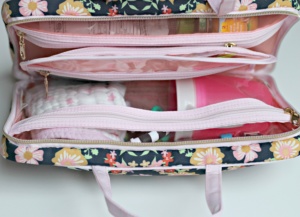
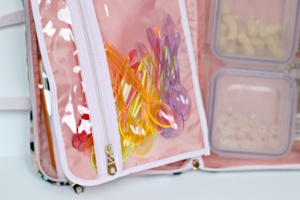
I would suggest upgrading from a Ziplock to a makeup/toiletry carrying case like one of the ones below to store all of your feeding and entertaining essentials. I got this fabulous idea from Blue i Style blog which has all sorts of amazing DIY organization tips. You can keep this Restaurant Kit with all the essentials you need to eliminate the stress of dining out with babes in your car. I purchased this floral cosmetic bag at Target (EDIT: The case I use has been sold out FOREVER – boooo – BUT I found this black one that would work just as well!!!), and linked two other patterns of the same bag below:
9. Don’t forget to make and bring along your Baby Car Kit in the case of a massive post-dinner poop – Trust me, you will never regret having everything you need on hand. Find out the essentials I pack in mine by reading this post.
10. Queue up an educational You Tube video  on your iPhone – Okay, please don’t judge me, but after going through the bag of trick above I will let Taylor watch one particular video called “ABC’s” by ABC Kids TV. We reserve letting her do this as a last resort, but she absolutely LOVES that darn video and it’s honestly really nice to have her occupied while her dad and I get a few minutes to enjoy our meal and a bit of adult conversation.
There you have it! My top tips, tricks, and preparation to make the experience of dining out with a baby as stress-free as possible. Now, go make your kit and get out on the town!
What tips and tricks do you use to keep your baby, toddler or kiddo entertained when you go out to eat? I would love if you’d share those ideas with me in the comments.

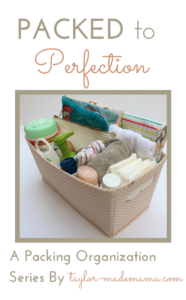
This is a post from my Packed to Perfection series. Be sure to check back for other posts in the Packed to Perfection Series as they are posted – I’ll be including free downloadable packing lists for each! Print, laminate (this laminating machine is $19.97 on Amazon.com – woo hoo!), stick the list in your bag, and never worry about forgetting something again! You can see other examples of ways to organize and pack for a baby or toddler in these existing posts: Diaper Bag for Baby, Packing Cubes, Working Mom’s Pumping Bag, Infant Daycare Bag, Baby/Toddler Car Kit, and Restaurant Kit for Babies/Toddlers.
Other Taylor-made Mama posts you may be interested in:
- Where To Find The Healthiest, Non-Toxic Toys and Products For Your Baby
- How A Baby Changes EVERYTHING
- How I Decided To Leave A Successful Career To Become A Stay At Home Mom
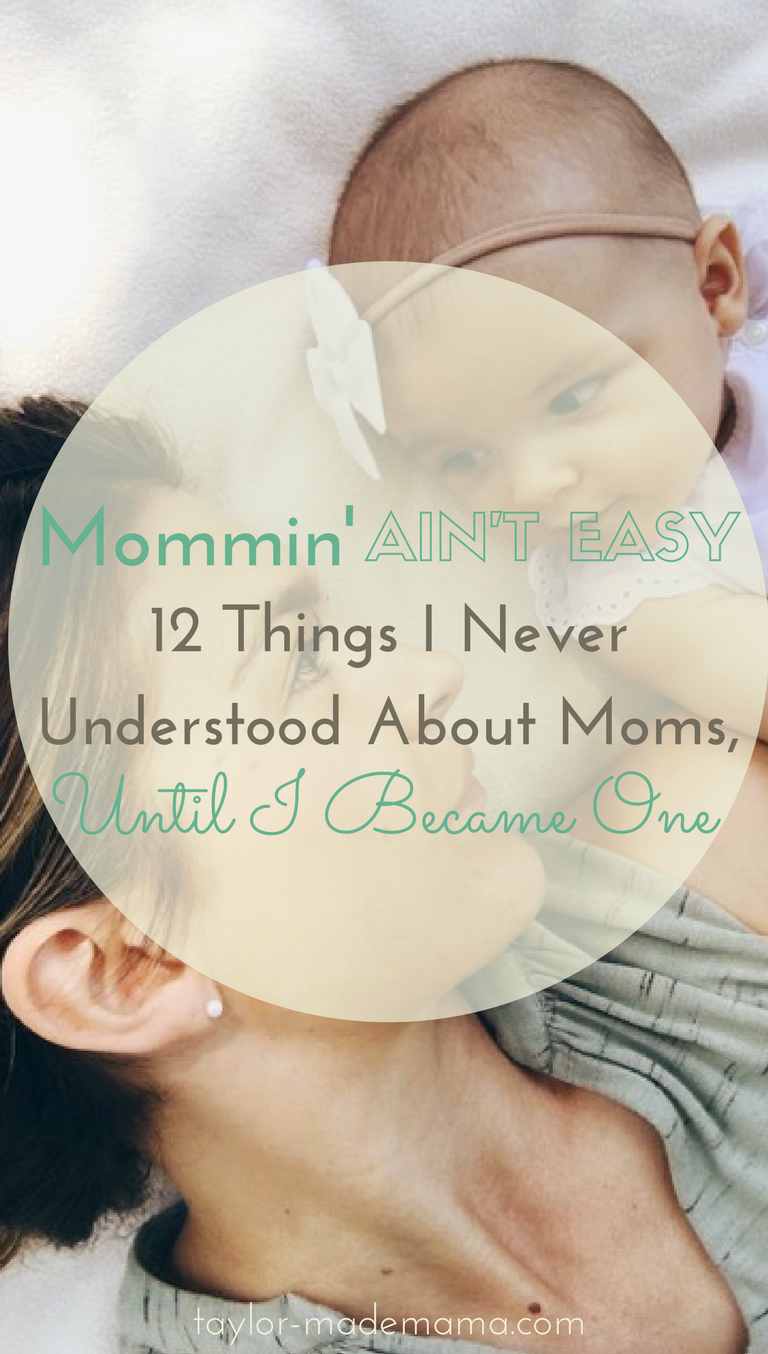
- 12 Things I Never Understood About Moms Until I Became One
- Maternity Leave Routine For Mom and Baby